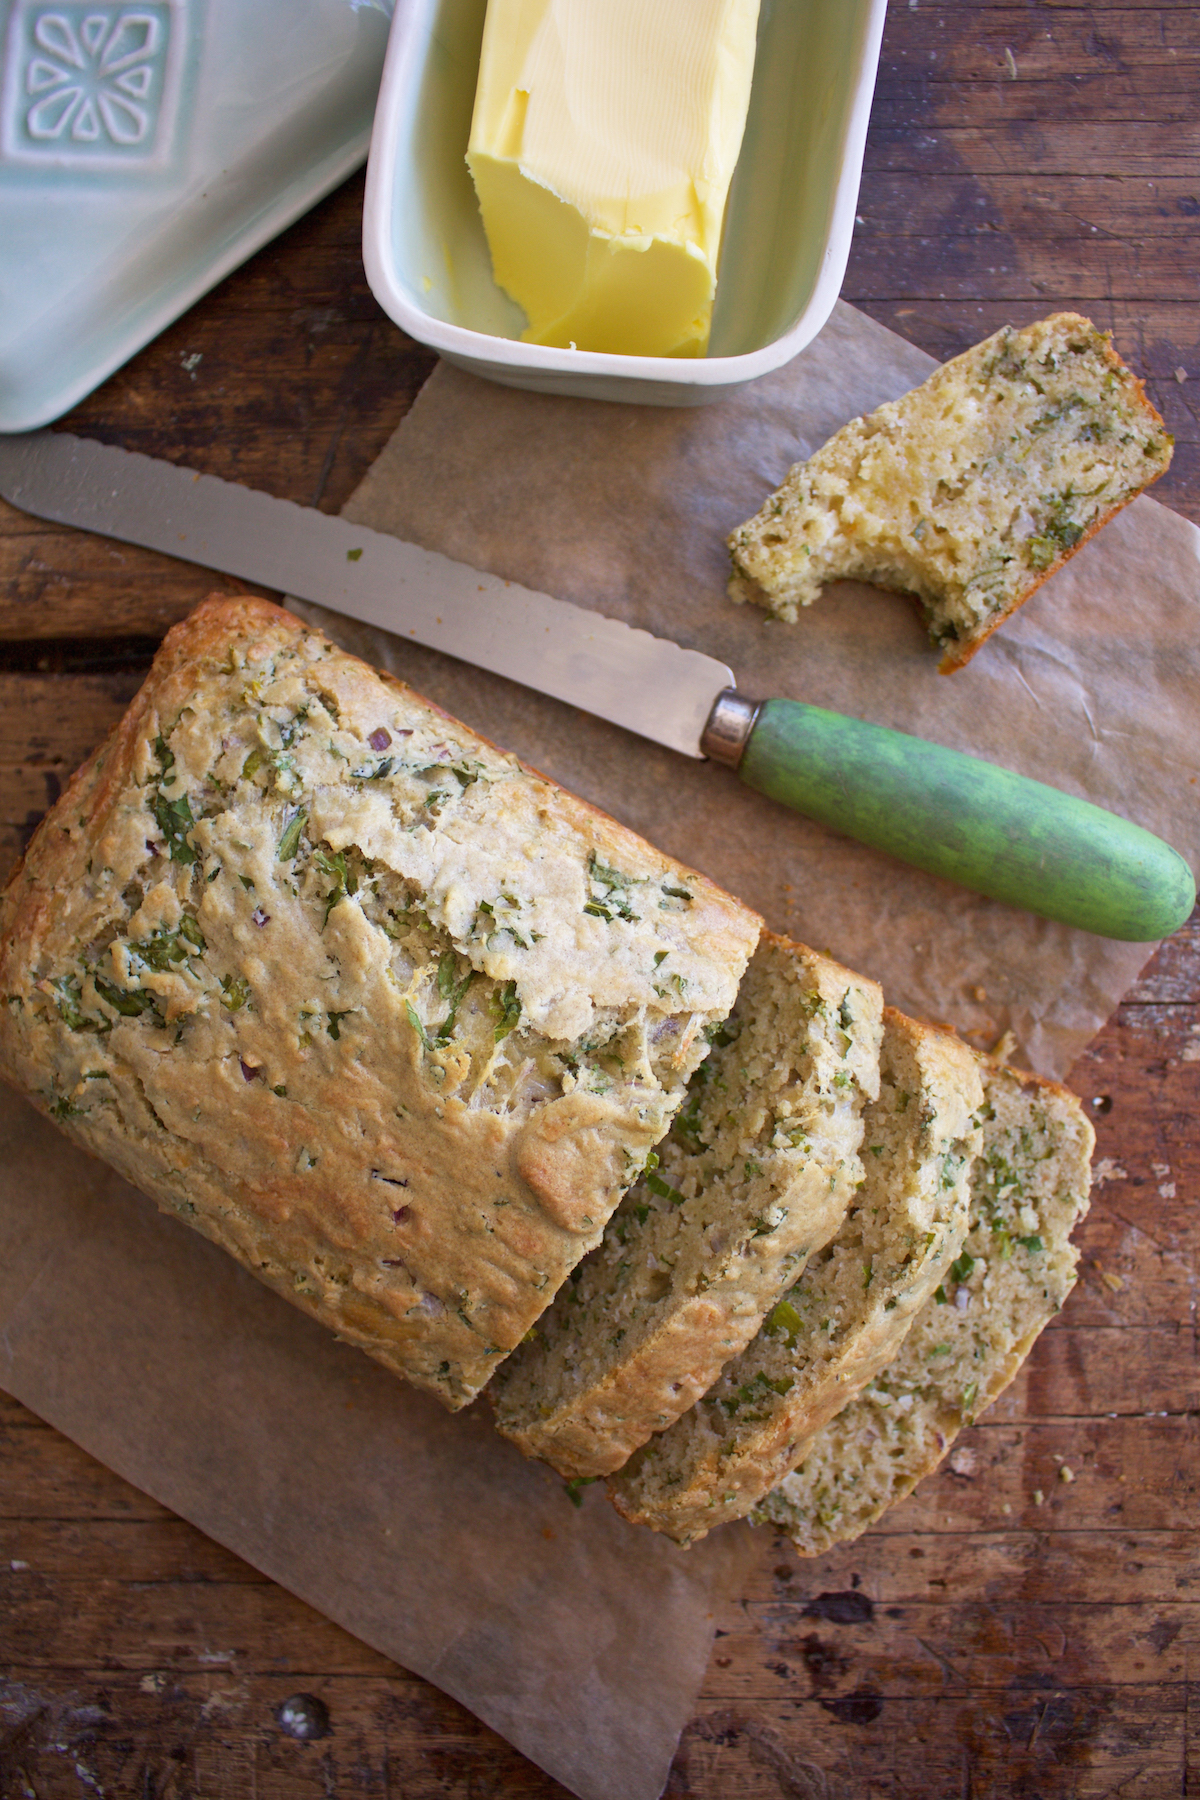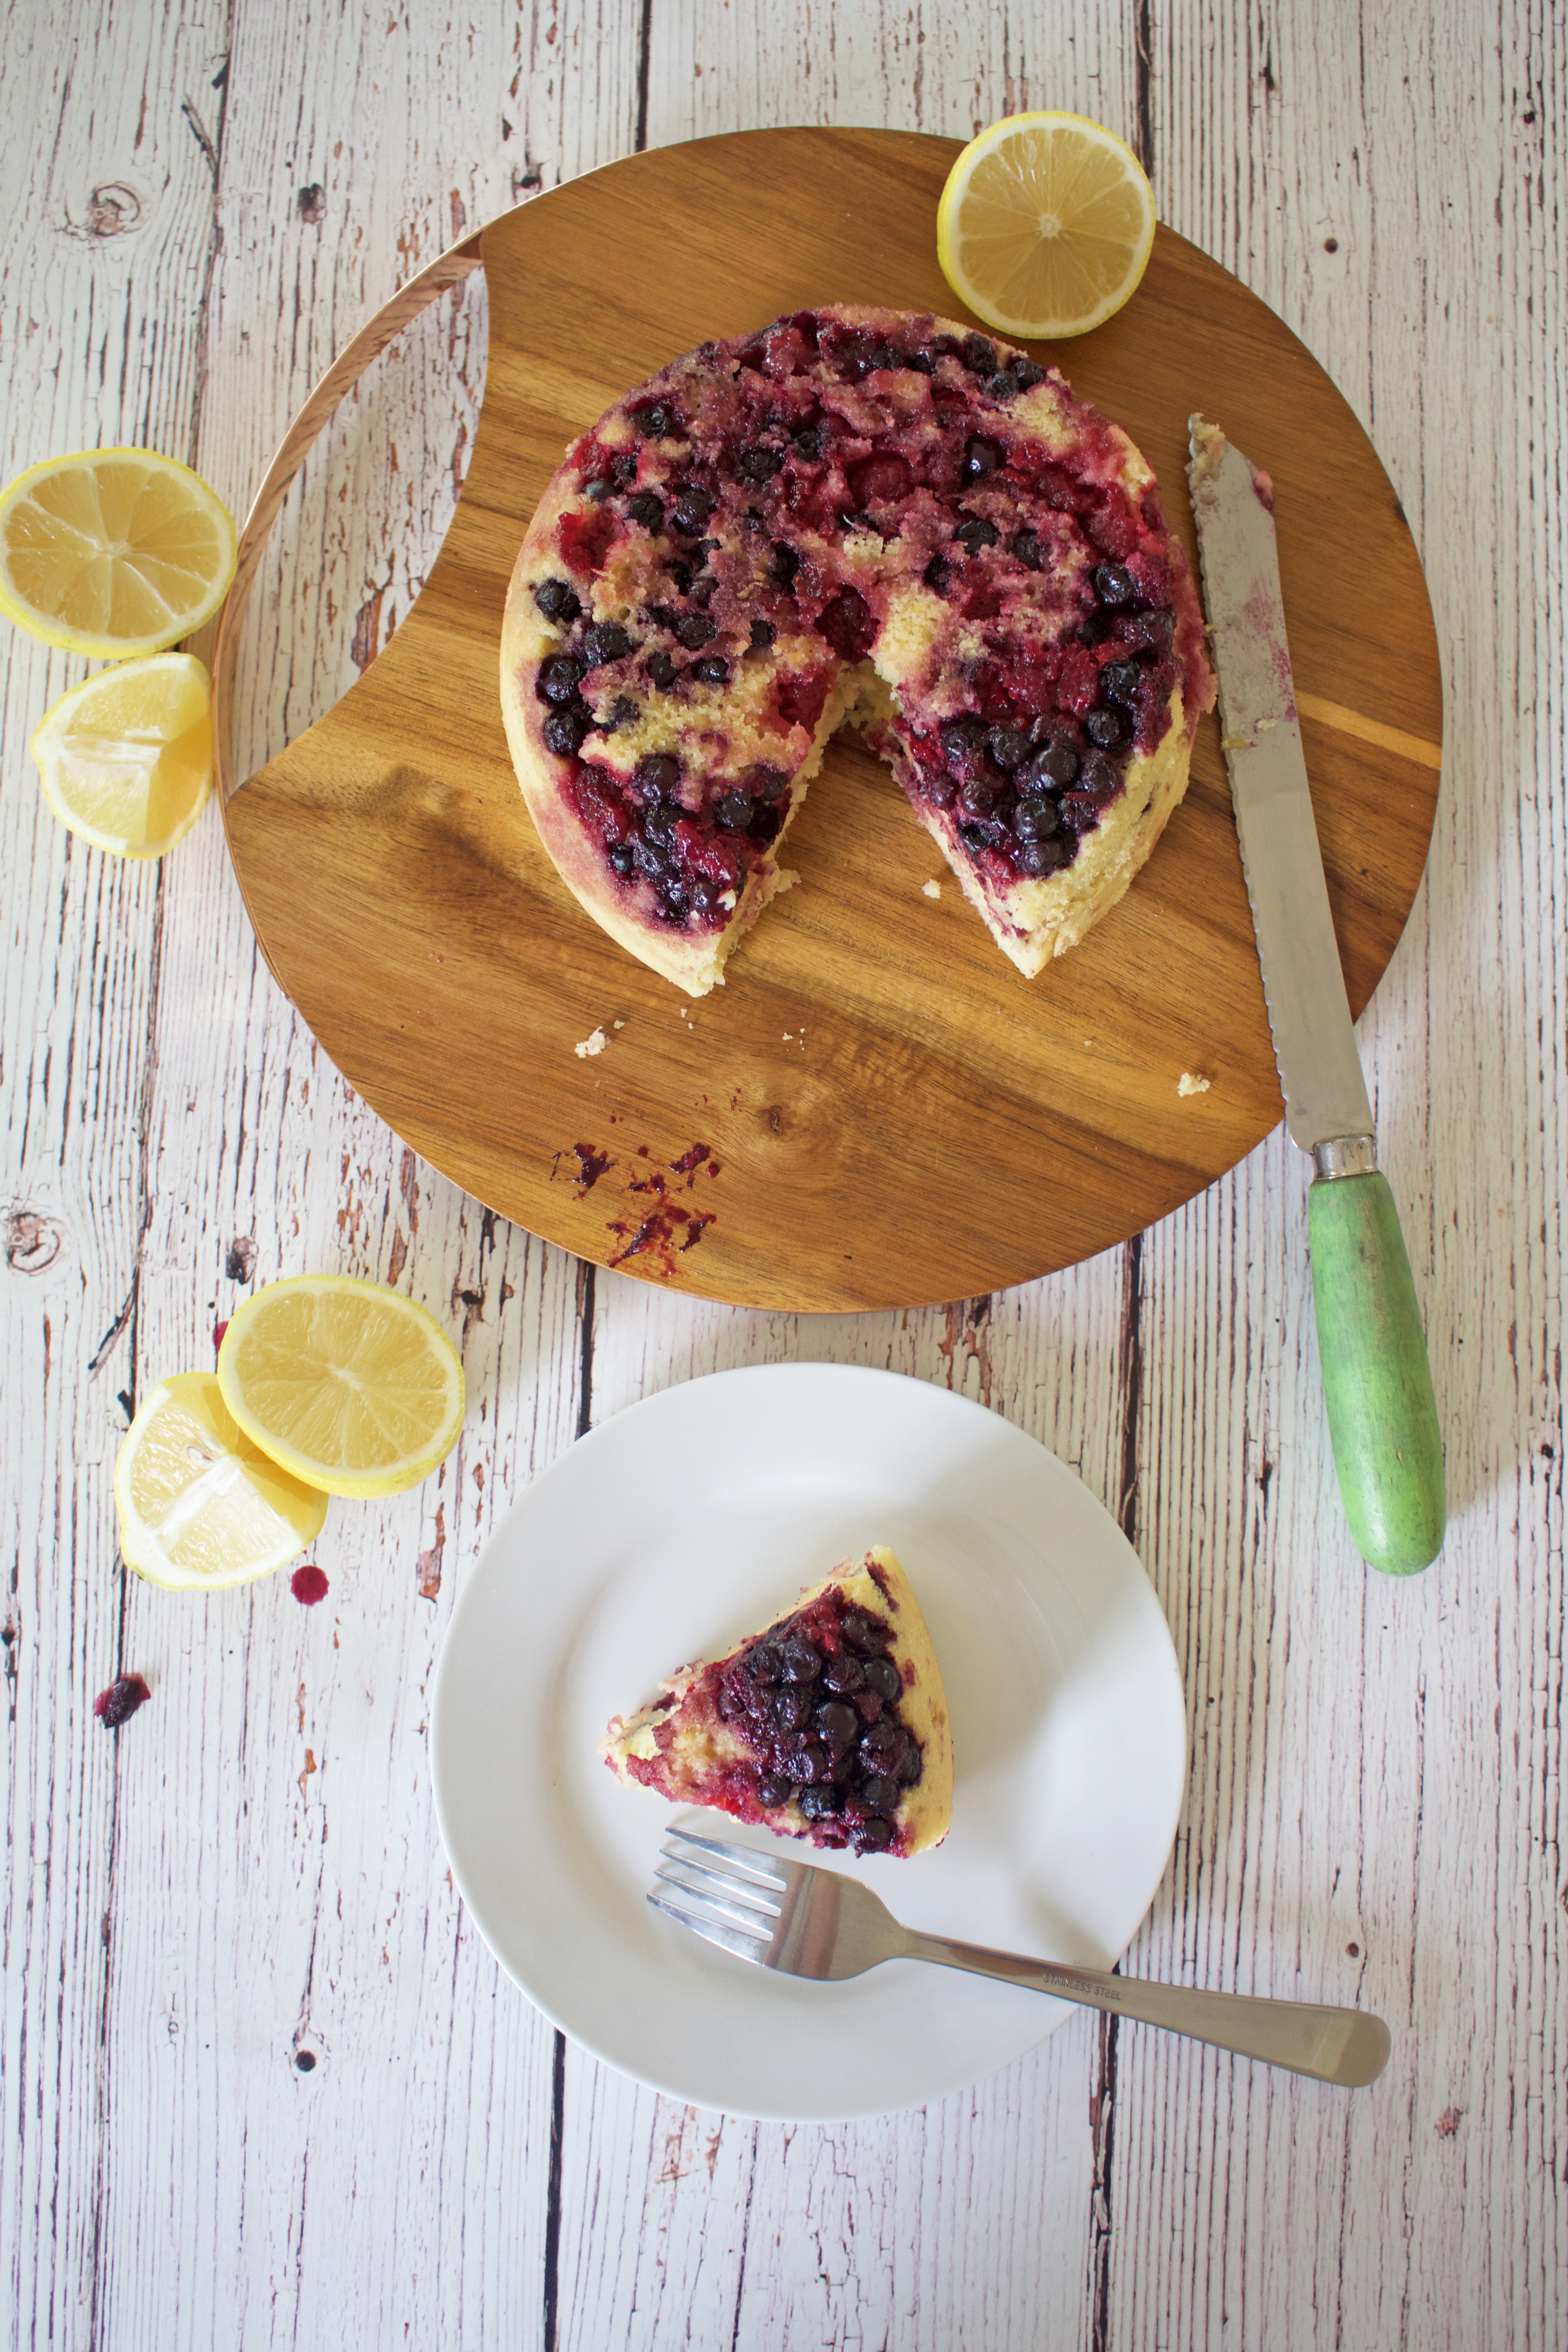
This pudding is well worth the effort, it’s the perfect dessert served warm on a cold winters night. Feel free to use any frozen berries in this recipe, you could even use frozen cherries. I’ve used a combination of blueberries and raspberries.
Steamed Berry and Lemon Pudding
- April 3, 2017
- 8
- 20 min Prep
- 60 min Cook
- Moderate Difficulty
Ingredients
- 1 ½ cups frozen mixed berries
- zest from 1 lemom
- 1 tbs honey
- ½ cup olive oil
- ½ cup honey
- zest from 1 lemon
- juice from 2 lemons
- 1 cup rice flour
- ½ cup coconut flour
- ½ cup tapioca flour
- 1 tsp baking powder
- 2 eggs
- ¼ cup almond milk
Directions
- Step 1
- Grease and line a round ceramic pudding mould. Scatter the frozen berries into the base along with the lemon zest and honey. Set aside for now while you prepare the cake batter.
- Step 2
- Add the olive oil, honey and lemon zest to a saucepan and place over a medium heat. Heat slowly until the honey has melted and starts to combine with the olive oil. Remove from the heat and add all of the remaining ingredients, including the lemon juice. Mix everything together well and pour over the berry mixture in the pudding mould.
- Step 3
- Fill the bottom of a large saucepan with water, check that the pudding mould will fit into the saucepan. Place a smaller bowl upside down into the saucepan and place the pudding mould on top. You want to make sure the pudding mould doesn’t come into contact with the bottom of the pan as it will burn. Pop the lid onto the large saucepan and place over a medium heat. Allow to steam for 60 minutes. Check every 15 minutes as you may need to top up the water. Make sure you allow it to cook for the full 60 minutes, it may look like it’s done but the middle takes longer to cook.
- Step 4
- After 60 minutes gently remove your pudding from the saucepan. Place a serving platter on top of the mould and in one motion flip it upside down, this will allow the pudding to drop out on to the platter. Serve immediately while still warm.